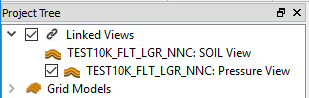
Linked Views
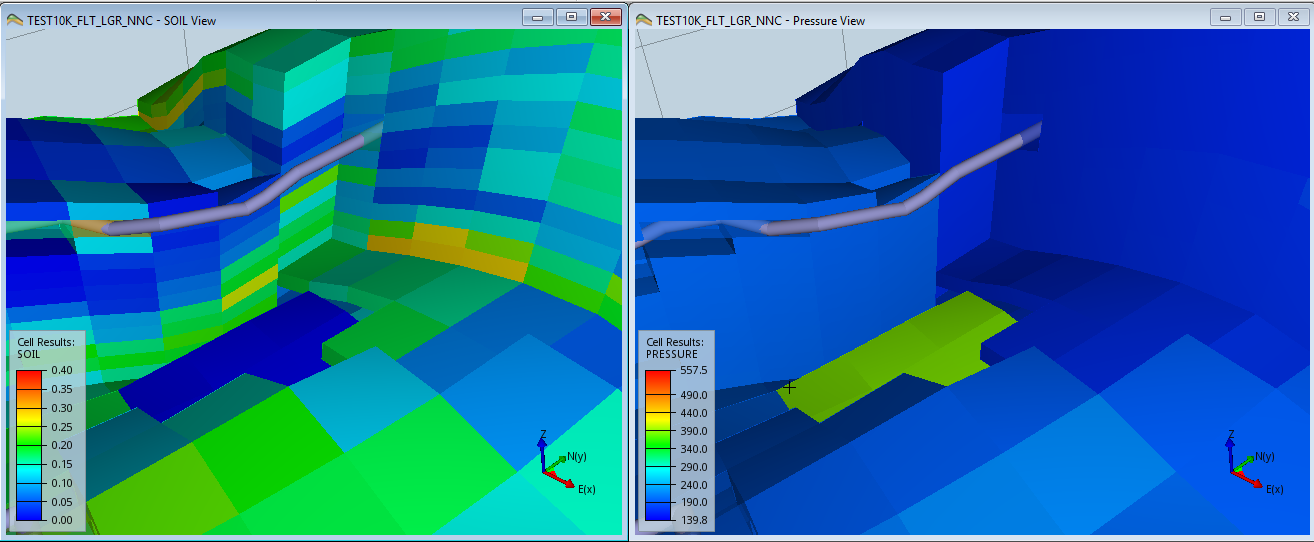
One or more views can be linked together to allow some settings like camera position and range filters, propagate from one view to another.
Establish Linked Views
To establish a link between views, select
 Link Visible Views from the View toolbar. This will open a dialog where the Master View is selected. When pressing Ok in this dialog, the Linked Views items are displayed in the top of the Project Tree.
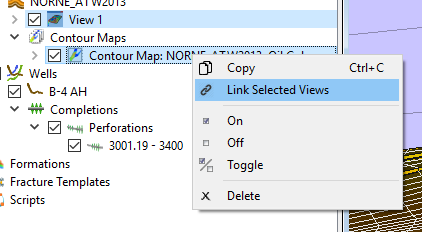
It is also possible to link specific views by selecting them and choosing Link Selected Views from the right-click menu. The following image shows the linking of a regular view with a Contour Map. Note that contour maps can never be the Master View.
Linked View Options
When selecting a linked view in the project tree, the different options are available in the Property Editor.
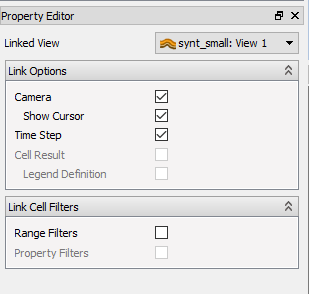
Link Options
- Camera – Navigation in any of the views where this option is active will be applied to the other linked views with this option set. This option is not available for Contour Maps.
- Show Cursor – Shows the position of the mouse cursor in the other views as a cross-hair. This option is not available for Contour Maps.
- Time Step – Change of time step in any of the views where this option is active will be applied to the other linked views with this option set.
- Cell Color Result – Change of cell result in the master view will be applied to all dependent views where this option is active. Cell Color Result is only supported between views of the same type.
- Legend Definition – Links the legend between views already linking the Cell Results Color.
Link Cell Filters
- Range Filters – Range filters in master view will be applied to all dependent views where this option is active. Normally this is done by a direct copy, but if the master and dependent view is of different types (Eclipse and Geomechanical views) and the reservoir simulation case is within the bounds of the Geomechanical case, ResInsight tries to map the range filters to the corresponding cells in the other case.
- Property Filters – Property filters in master view will be applied to all dependent views where this option is active.
Toggle Linking from the Project Tree
A linked view can temporarily be disabled by unchecking the linked view. To disable all linked views temporarily, uncheck the top level item Linked Views.
Project Tree right-click menu
Right-clicking one of the linked view entries in the Project Tree displays the following menu entries:
- Open All Linked Views – Open all the views which is part of the linked view group.
- Delete All Linked Views – Delete the linked views group, and thereby unlink all the views.
- Delete – Remove an individual view from the group of linked views.
3D View right-click menu
To activate the menu items for a linked view, right-click inside the 3D view anywhere outside the model. Depending on whether the view is a dependent-, or an unlinked view, some of the following commands are available:
- Show Link Options – Activate the linked view item in the project tree, and show its properties.
- Set As Master View – Use the view as Master View. This option is not available for Contour Maps.
- Link View – Add the view to list of linked views.
- Unlink View – Delete the view from list of linked views.
Master views have no available linking commands.