Polygons
ResInsight supports import, export and creation of polygons and polylines.
Polygons in Project
A polygon is available for all views in a project. The polygons can be imported from file, exported to file or created by interactively clicking in a view.

Create a Polygon
To create a polygon, the user clicks on a set of locations in 3D. This operation can be started by:
- Right-click on some geometry in a view, from the menu select Polygon
- Right-click on Polygons in the Project Tree and select Create Polygon
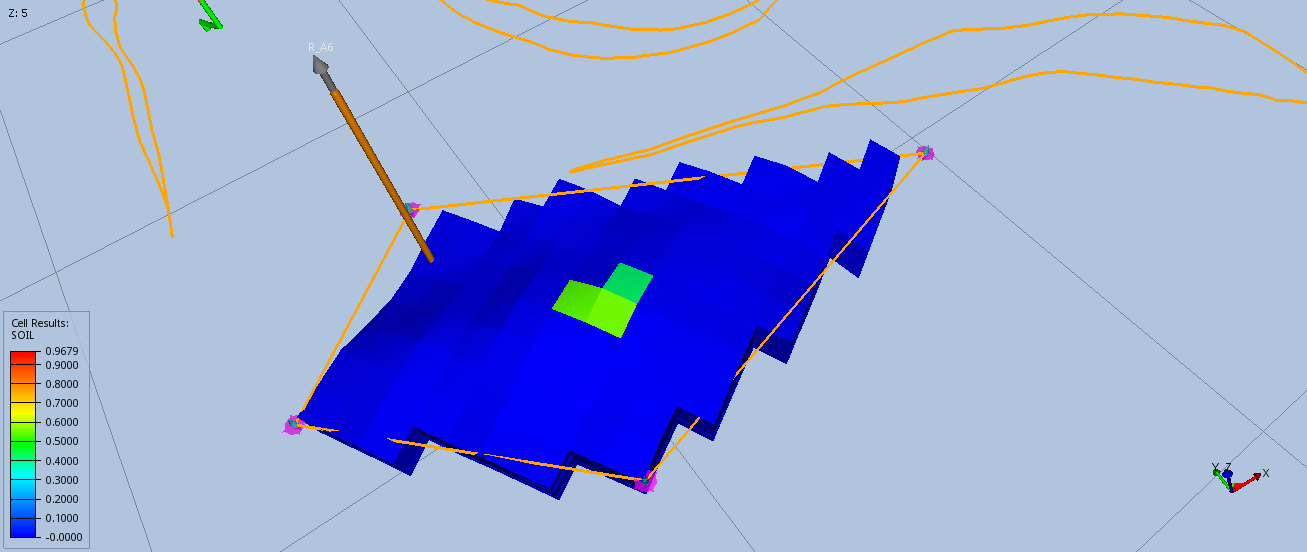
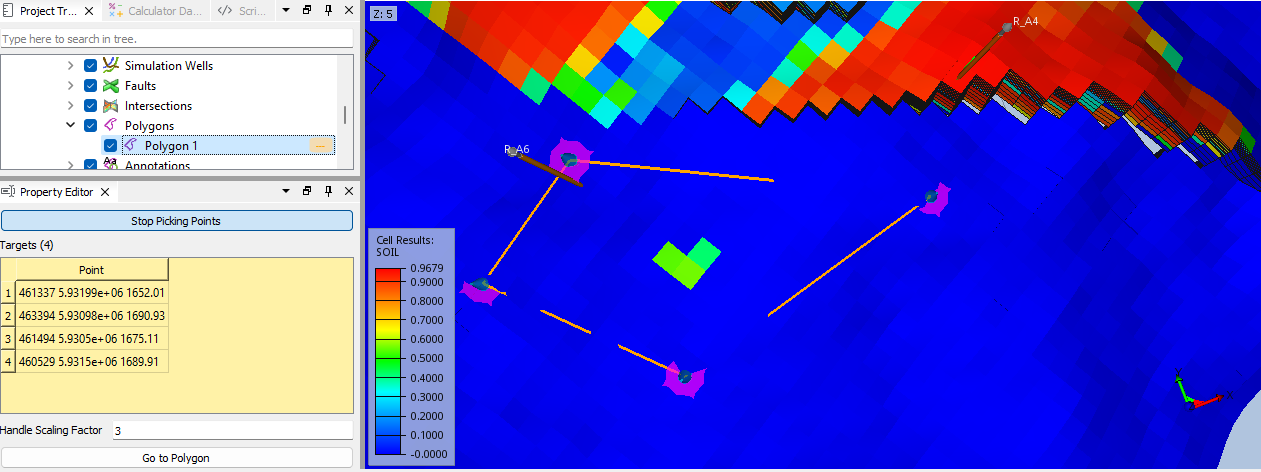
This will enable a mode where the user can click in the view to create a polygon. Small objects are created, and can be used to manipulate the location of a point. Left-click the pink circle and hold + mouse move will move a point in XY plane, left-click the blue cone and hold + mouse move will move a point in Z.
When completed, the user can click on the button Stop Picking Points in the Property Editor.
Length and Area
The polygon length and area can be displayed as a label in the 3D view controlled by the Show Label checkbox.
Duplication and Simplification
Polygons can be duplicated by using the right-click menu. Imported polygons can have very many coordinates. To reduce the number of points, the user can select Simplify Polygon from the right-click menu. The simplification is done by removing points that are close to each other, but still conserves the overall shape of the polygon. The user can define a threshold to control the simplification. A larger value will remove more points, and a smaller value will remove fewer points.
Create Intersection and Polygon Cell Filter
The user can create a grid intersection by using the Create Polygon Intersection. This will create an intersection of the polygon with the grid.
The user can also create a polygon cell filter by using the Create Polygon Cell Filter. This will create a polygon that represents the cells that are inside the polygon.
Appearance
Appearance settings are available by selecting the project polygon. Name, color, line style and other visual settings can be set in the Property Editor.
A polygon is by default defined as a closed loop of line segments. The user can choose to display the polygon as a closed loop or as a polyline using the Closed Polygon option in the Property Editor.
Import and Export
Polygons can be imported from file and exported to file. The file format is either POL or CSV. The file format is automatically detected from the file extension. The user can also select the file format manually.
Import and export is available from the right-click menu of Polygons in the Project Tree. Polygons imported form file is marked with a padlock icon in the Project Tree. This indicates that the polygon is read-only and cannot be edited. A copy of the polygon can be created by using the right-click menu.
Polygon File Format - POL
Define each point as three double per line (X Y Depth). Comment lines are supported by using # at the start of the line. Multiple polygons can be defined in the same file by using 999 999 999 as a separator.
Polygon File Format - CSV
Define each point as three double and optional integer ID per line (X,Y,Depth,ID). The column headers are ignored.